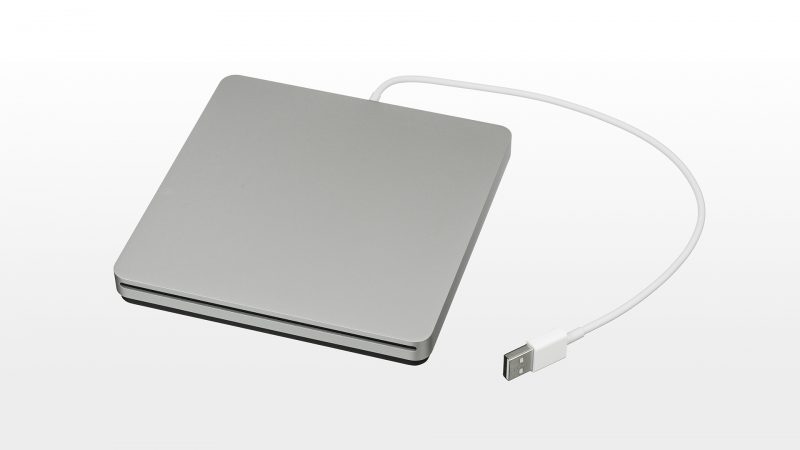
How To Install An Apple USB SuperDrive On A Windows 10 PC
As technology evolves, an increasing number of laptops and even some desktop machines are being built without CD/DVD drives. With the rise to prominence of digital services such as Spotify, Netflix and Steam, it’s become more convenient to stream our music and movies than buying CDs and DVDs. Not only is it on-demand, there’s also no risk of damaging any disks.
However, for those of us with large collections of CDs, DVDs and computer games, this can be an inconvenience when the time comes to purchase a new computer. Thankfully, there are USB powered CD/DVD drives such as the Apple SuperDrive. I bought one after buying my new laptop and discovering it didn’t have an optical drive, and I found that initially it didn’t work. Whenever I’d attempt to insert a CD, the SuperDrive wouldn’t accept it. As it’s an Apple product, it’s designed to work with Apple computers, not Windows 10. But I didn’t have to get a return on the USB SuperDrive as you can get it working on Windows 10 in a few simple steps.
How to get the Apple USB SuperDrive to work on a Windows 10 computer:
- Download the Apple ODD Driver
- Unzip and run the installer
- Restart your PC
Once your computer has restarted, you should be able to use your Apple USB SuperDrive on your Windows 10 PC.
