How To Add PHP Coding Standards Checks To Your WordPress Project
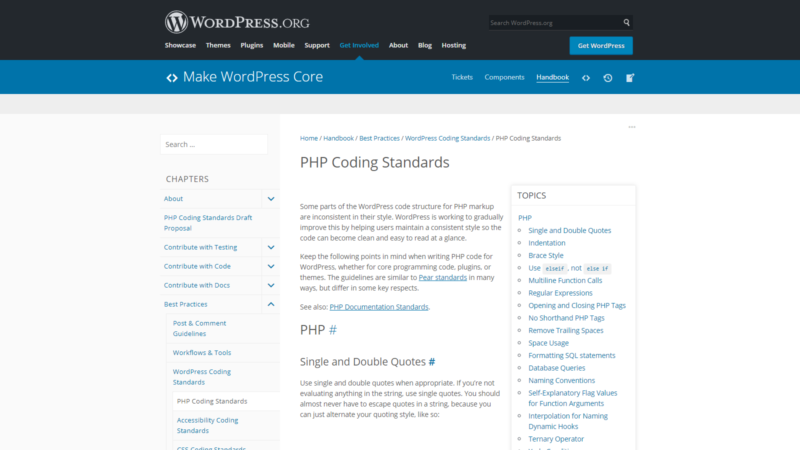
WordPress is a massive project, with hundreds of developers contributing code over more than 15 years. When developing at such a large scale, it is virtually impossible to maintain consistency in the codebase, as every developer has their own methods, styles and preferences. Heck, it’s practically impossible with just two developers, let alone a project of WordPress’ scale. That’s why WordPress introduced official coding standards to help keep code consistent between developers.
I recently released my WordPress Plugin Development For Beginners course, where I cover the WordPress coding standards and demonstrate making your code coding standards compliant. Click here to sign up for free!
It is recommended that WordPress projects should also follow the WordPress coding standards. The problem is that there are a lot of different aspects that the coding standards cover, and it can be difficult to take them all into account while writing code, even for the best developer.
Using Continuous Integration To Check Coding Standards
To help ensure developers can’t forget or miss coding standards, there are some automated checks you can implement to help make sure your code follows the coding standards. Some of these include IDE integration, pre-commit hooks and CI tests. The easiest of these to set up is CI tests, especially for projects involving mulitple developers.
I’ve put together some simple configuration for some of the most popular CI services which is available on Github and Bitbucket.
Travis CI
Config: .travis.yml
Logs: https://travis-ci.org/cameronjonesweb/ci-testing
Setting up the coding standards with Travis is as simple as pasting in the .travis.yml file into your project’s directory and enabling your repository in your Travis account.
CircleCI
Config: .circleci/config.yml
Logs: https://circleci.com/gh/cameronjonesweb/ci-testing/
CircleCI is also very easy to set up, just paste the config.yml file into a .circleci directory in your project’s directory, then enabling the repository in your CircleCI account. CircleCI also has the added benefit of being free to use for private repositories.
Bitbucket Pipelines
Config: bitbucket-pipelines.yml
Logs: https://bitbucket.org/cameronjonesweb/ci-testing/addon/pipelines/home
Bitbucket Pipelines is just as straightforward to set up. Paste the bitbucket-pipelines.yml file in your project’s directory and then enable pipelines from Pipelines menu in your project’s repository. The one thing to keep in mind with Pipelines is that the environment that gets created does not include Git, which requires an extra step to set up.
Some time ago it was recommended to me that I should follow the WordPress coding standards. It took me a while to adopt them simply because it was so difficult to set up any sort of testing setup. Hopefully these simple CI configurations can help you to adopt the WordPress coding standards and start writing better and more standardised code.
