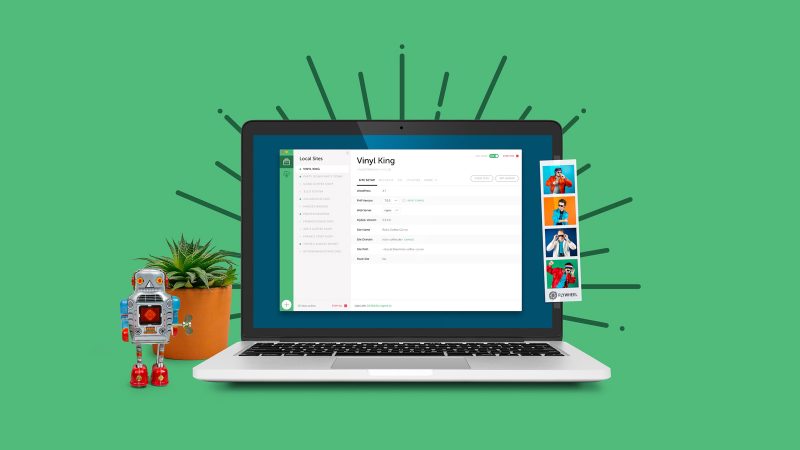
How To Restore The Database Of A Site On Local By Flywheel

I love Local by Flywheel for developing sites locally. It’s fast, customisable and more stable than Vagrant based development environments.
They recently released version 2.4.2, which included an update to the preferred environment. Local was nagging me to update the environment for my sites, so I obliged. Much to my dismay, this process wiped the database for every site that I updated the environment of.
Thankfully, since 2.4.1 Local creates a database backup when changing or updating environments. Here’s how you can restore the database after updating your environment:
- Make sure your site is running in Local.
- Right click on the name of the site and click on “Show Folder”.
- Navigate into the selected folder and then into the “backups” subfolder.
- Extract the
local.sqlfile from latest zip file. - Navigate to the “Database” tab in your Local site and click on “Adminer” to open up the Adminer interface.
- In the left hand sidebar select “Import”.
- Click on the “Choose Files” button and select your recently extracted
local.sqlfile. - Click on the “Execute” button.
Your local site should now be running the correct database from before upgrading your environment.
Update 16 November 2018
In a minor release after 2.4.2, Local changed the format of the database exports. Instead of being just a single local.sql file, it now exports two separate files for each table, one for the schema and another for the rows. This makes it harder to import back into the database as the tables have foreign keys that need to exist already for a table to be imported correctly, so executing the files in the correct order is imperitive. After much trial and error, I have managed to devise a method that works for more recent versions.
- Make sure your site is running in Local.
- Right click on the name of the site and click on “Export”.
- Right click on the name of the site and click “Delete”. We’ll be rebuilding the site soon.
- Navigate to the export of the site.
- Extract the zip file.
- Navigate into the extracted folder and then the “backups” subfolder.
- Copy all the files in this folder.
- Navigate to the
app/sqlfolder. - Delete all the files in this folder.
- Paste the copied database backup files in this folder.
- Zip the exported site back up.
- Back in the Local interface, from the menu select “Import site”
- Select the new zip file.
- Follow the install process.
You should now have your site back to normal with the database restored as it was before.
I’m not sure why there’s no database backup option that I can find in Local. If there is one, or if there’s at least some better way, please let me know in the comments.